Some years ago I read “The Anarchist’s Tool Chest” by Christopher Schwarz . It’s a wonderful book describing many of the hand tools used in the English/American tradition of woodworking. The book inspired me to get into woodworking with hand tools, and to actually build the tool chest described in the back of the book.

A description of the tool chest was also published in Popular Woodworking Magazine.
Buying boards
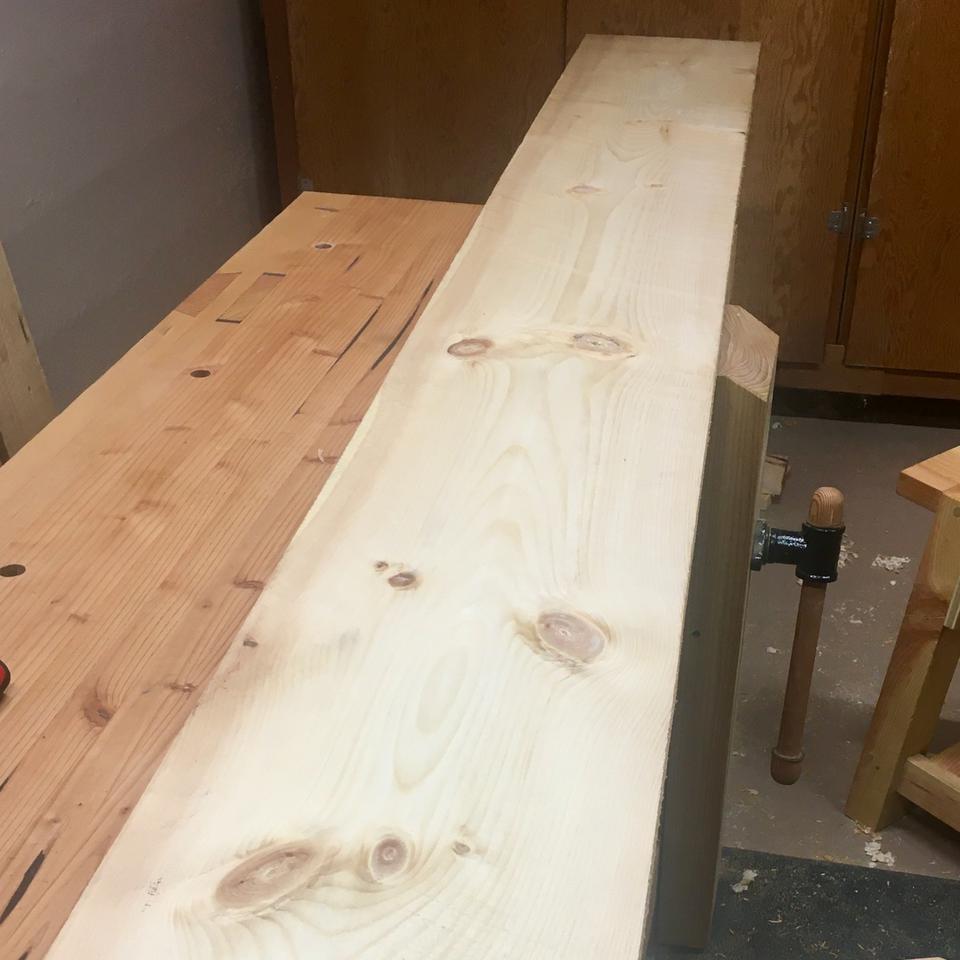
I’m going to build the chest in the recommended Eastern White Pine which is lightweight, fairly strong, and easy to work with. It is much lighter than the Douglas Fir construction lumber I used to build my workbench. Crosscut Hardwoods in Portland sells white pine and lots of other species of wood.
I was expecting them to carry 8’ long 6” wide boards of clear grade pine, so before going to the lumberyard I figured how many of those boards I would need. When I got there, their pine boards where a mix of 10’, 11’, and 12’ long, and in various widths between 4” and 12”. They also didn’t have a lot of clear grade boards, so I had to get some of the furniture grade boards too. (“Furniture grade” must be for upholstered furniture, because it has quite a few knots.)
I had to do a lot of figuring on the spot, and ended up buying these boards:
| Dimensions (inches) | Note |
|---|---|
| 4 × 133 ½ | FUR, 12” damaged one end |
| 4 × 144 ½ | FUR, big knot at 24” |
| 4 × 144 ½ | FUR, big knot at 24” |
| 4 × 121 ½ | CLR, damaged end |
| 4 ¼ × 121 ½ | CLR |
| 6 × 121 ½ | CLR, bad end 8” |
| 6 ¼ × 121 ½ | CLR, good |
| 6 ¼ × 120 ¾ | CLR |
| 6 × 121 ½ | CLR |
| 11 ¾ × 144 ½ | FUR, some knots |
| 12 × 144 ½ | FUR, some knots |
Planning the cuts
My tool chest is going to be 40” × 24” × 24”, so here’s how I am going to use the boards:
- Sides
- I can glue two 12” boards together to make panels for the sides of the box. After planing, that won’t add up to exactly 24”, but that is okay. The height is not a critical dimension.
- Skirt
- A 6” wide skirt goes around the bottom of the chest. This needs two boards of 25” and two of 41”. I can cut these from my 6” boards. They have a couple small knots which won’t do any harm on the skirt.
- Bottom
- The bottom of the chest is made from 11 4” wide boards joined with tongue-and-groove. I can cut these from the furniture grade 4” boards. It’s not a problem if there are a few knots or other blemishes in the bottom boards.
- Lid frame
- The rails and stiles of the lid are about 4” wide, and they need to be very straight grain with no knots. I’ll make them from the clear 4” boards along with any left over bottom boards that are clear of knots.
- Lid panel
- The underside of the lid is going to be the most visible part of the chest since the outside will be painted. The panel needs to be just over 16” wide between the lid rails, so it can be made from 3 6” wide boards. I’ll pick out the best wood for this.
- Lid skirt
- There’s a narrow skirt on the lid and a dust seal on the chest right under it. These 2” wide parts can be ripped from the remaining 6” boards. The parts may have to be slightly narrower than 2” so I can rip 3 usable parts out of one 6” board.